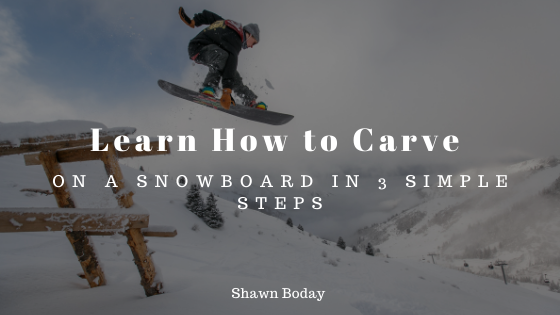
Any snowboarder understands how crucial carving is to a snowboarder’s skill set. Carving is simply the ability to turn a snowboard with only the board’s sidecut, which prevents speed loss when someone turns their board. Now, let’s learn how to carve on a snowboard in three quick steps!
- Start With Edge Stacking
The best way to learn new techniques is to work indoors first without the slopes. Toe edge and heel edge are the two primary positions to practice.
For a toe edge, the rider must bend their knees and ankles. They must simultaneously push their shins into the tongues of their boots, then move their hips forwards to mimic the edge they’d create when carving. It’s important to be low to the ground and have most of the weight over the board’s toe edge.
The heel edge is similar. The rider must still bend their knees and ankles to get low to the ground, but then they should shift their hips down towards the high backs and raise their toes, so the board’s toe edge is also raised. Here most of the rider’s weight will be over the heel edge of the board.
- Traverse the Slopes
Riders should look outdoors for a run with space to practice. The next step to learn how to carve quickly is to attempt to hold a clean traverse using only toeside and heelside on a run.
This traversing challenge means the rider should attempt the entire run on just one edge, a fundamental part of carving on a snowboard. Riders should keep their heel edge and toe edge positions and always bend their knees.
- Carving Through the Mountains
This last step is simple but requires a lot of practice. To start carving, riders must begin their heel edge or toe edge quite soon after they turn and be able to hold the edge for a while. It is the transition from edged traverse to edged turns that takes a lot of time to perfect. There are plenty of fantastic resources for anyone ready for more advanced snowboard carving, but this covers everything anyone needs to know to start carving across the slope.